Discover the key factors to consider when selecting a gambrel barn kit for your next project, providing practical advice for making an informed purchase.
Key takeaways:
- Gambrel roof advantages: extra space, durability, energy efficiency.
- Structural components: roof trusses, support beams, siding, fastening systems.
- Design possibilities: versatile usage, customizable finishes and floor plans.
- Building codes and compliance: check regulations, permits, accessibility, utility hookups.
- Cost analysis: compare prices, consider long-term savings, factor in materials, labor, and ancillary costs.
Gambrel Roof Advantages
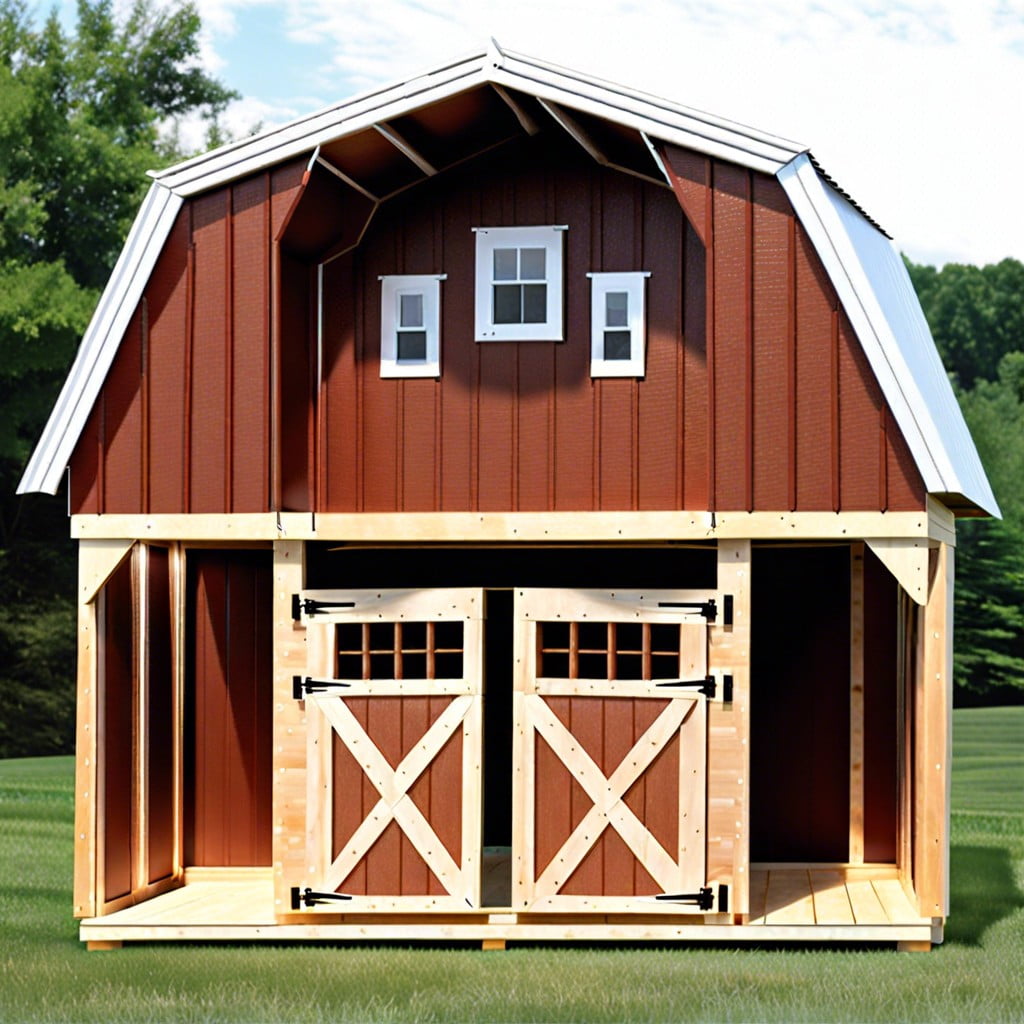
This distinctive roof not only catches the eye but also offers practical benefits. Its dual-sloped sides create extra headroom on the upper floor, making for a spacious loft or storage area without the need for additional construction. This extra space is a boon for storage or even conversion into living quarters.
Durability is another plus. The steep slope effortlessly sheds rain and snow, greatly reducing the likelihood of water damage. In areas burdened with heavy snowfall, this feature alone can be a game-changer.
Efficiency rounds off its advantages. The design allows for ample insulation in the roof, providing a cozy barrier against both sweltering summers and biting winters. This aspect can significantly decrease energy bills, putting a smile on the face of budget-conscious builders.
In sum, choosing a gambrel roof can mean less spending down the line, not just on potential repairs but also on energy costs, all the while maximizing usable space under the roof.
Structural Components of a Kit
Gambrel barn kits come as a pre-engineered package equipped with all the necessary pieces for assembly. The centerpiece of these kits is the distinctive, dual-pitched roof trusses, which not only create the classic barn silhouette but also provide extra headroom and storage space in the loft area.
Vertical support beams, which can be steel or robust wood, form the backbone of the structure, supporting the roof and distributing weight down to the foundation. The siding is typically made of metal or durable engineered wood, each piece precut for a perfect fit.
Horizontal purloins and girts add stability to the frame and are essential for attaching the wall and roof panels. High-quality fastening systems, typically including bolts, screws, and brackets, ensure that all components fit securely together, creating a rigid structure that can withstand harsh weather.
Flooring materials are generally not part of the kit and must be sourced separately, as they need to match the specific requirements and use of the barn.
Windows, doors, and insulation packages are offered as optional components, allowing for customization according to climate needs and personal preference.
Each kit comes with a detailed instruction manual. The manual contains diagrams and step-by-step guides, which make assembly straightforward for those with some construction experience.
Remember, while the bones of your barn are standard, the final result depends on how you piece it together and the bells and whistles you include. It’s like a giant jigsaw puzzle, but instead of ending up with a picture, you get a sturdy, spacious barn ready for whatever you throw at it—or in it, for that matter.
Design Possibilities With Gambrel Barn Kits
Gambrel barn kits carve out a generous overhead loft space, due to the distinctive, dual-pitched roof style. This extra volume opens doors for diverse usage such as storage, living quarters, or even a cozy artist’s studio tucked away above.
With the pre-designed nature of a kit, you gain the flexibility to customize finishes like siding and roofing materials. A sleek metal exterior or rustic wood cladding? That choice can align the aesthetic with anything from a modern farmhouse to a classic country retreat.
Don’t forget the floor plan’s versatility. The lower level can transform into a workshop, stable, or expansive garage for car enthusiasts. Interior walls are often movable in these kits, giving you free rein to create a layout that caters to your specific needs.
Lastly, personal touches – from window placement to door styles – inject character. Consider sliding barn doors for authenticity or roll-up doors for practicality. The right details transform these structures from humble shells into personalized landmarks on your property.
Building Codes and Compliance
Before hammering the first nail or sawing the first plank, checking local building codes is a critical step. These regulations outline necessary specifications for construction, promoting safety and uniformity across neighborhoods.
Think of building regulations as a rulebook. Each area’s codes dictate the groundwork for structures – from framing requirements to the elevation of the building, which ensures everything aligns with safety and environmental standards. This is crucial in areas prone to specific weather threats like high winds or heavy snow, where a gambrel barn’s distinctive roof must be up to snuff to withstand Mother Nature’s mood swings.
One key point is to inquire about permits. Just as you wouldn’t drive without a license, don’t build without the proper paperwork. This not only keeps you on the right side of the law but also provides a framework for meeting structural standards.
Accessibility is another concern addressed by codes, specifically in areas where public access is anticipated. Ensuring your gambrel barn is up to the task of accommodating various needs is not just thoughtful – it’s often legally required.
Lastly, consider utility hookups. Electrical and plumbing installations must often follow strict guidelines for safety and functionality. Always consult with a professional when dealing with these systems to avoid shocks or leaks down the line.
Zoning regulations should also be on your checklist: they define the do’s and don’ts for your barn’s size, location, and purpose. Bending these rules can lead to costly do-overs, so it’s better to measure twice and build once.
In short, paying attention to building codes and compliance is the bedrock of a successful gambrel barn project – skirting these rules can lead to a shaky foundation, both literally and figuratively.
Cost Analysis and Budgeting for a Gambrel Barn
Breaking ground on a gambrel barn can seem as tricky as filling a shopping cart on an empty stomach. Before you dive in, wrap your head around the financial side of the project to avoid any surprise costs down the line.
Start by comparing kit prices, but remember, the sticker price isn’t the whole picture. Think about the long-term savings a gambrel barn offers, like the extra space in the loft area which could cut down on the need for expansions later.
Materials are the bread and butter of your budget. Factor in the cost for quality lumber and steel, understandably fluctuating prices mean a little wiggle room in your budget is wise.
Don’t overlook labor costs if you’re not going DIY. Hiring professionals to erect your barn can be akin to getting a master chef to cook dinner – sometimes it pays to have experts on board.
Consider the ancillary costs: permits, utilities, and interior finishes. These can sneak up on you like an extra zero on a restaurant bill, so make sure these costs are clear from the outset.
Lastly, factor in a buffer, generally 10-15% of your total budget. This acts as a safety net for any unexpected expenses, ensuring your project doesn’t stall.
By grasping these financial elements, you’ll be set to rein in your gambrel barn project without it bolting with your wallet.